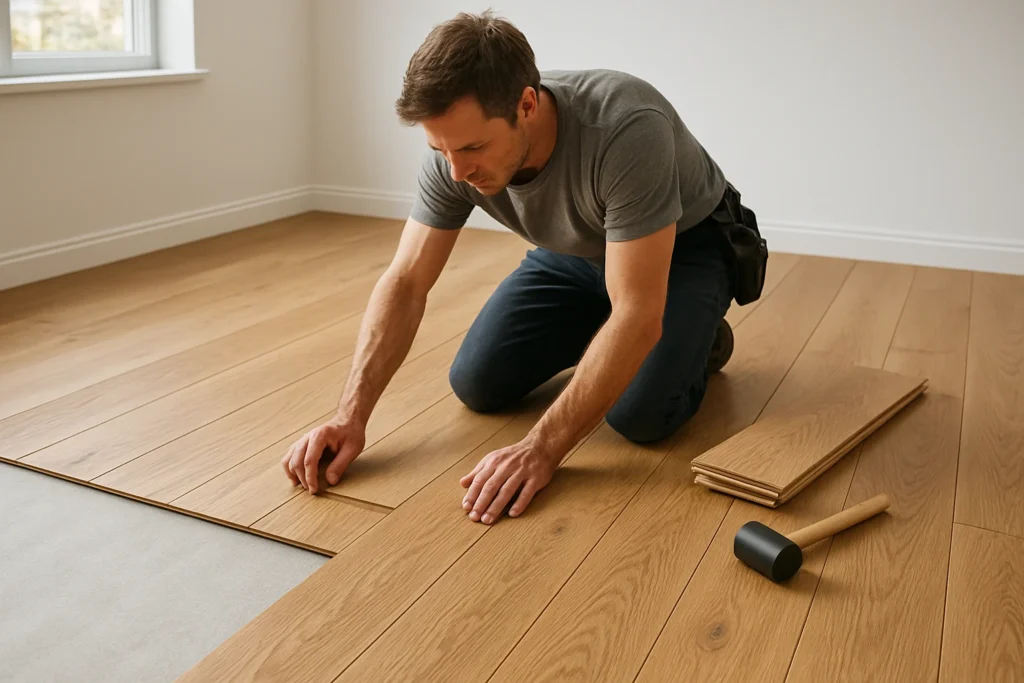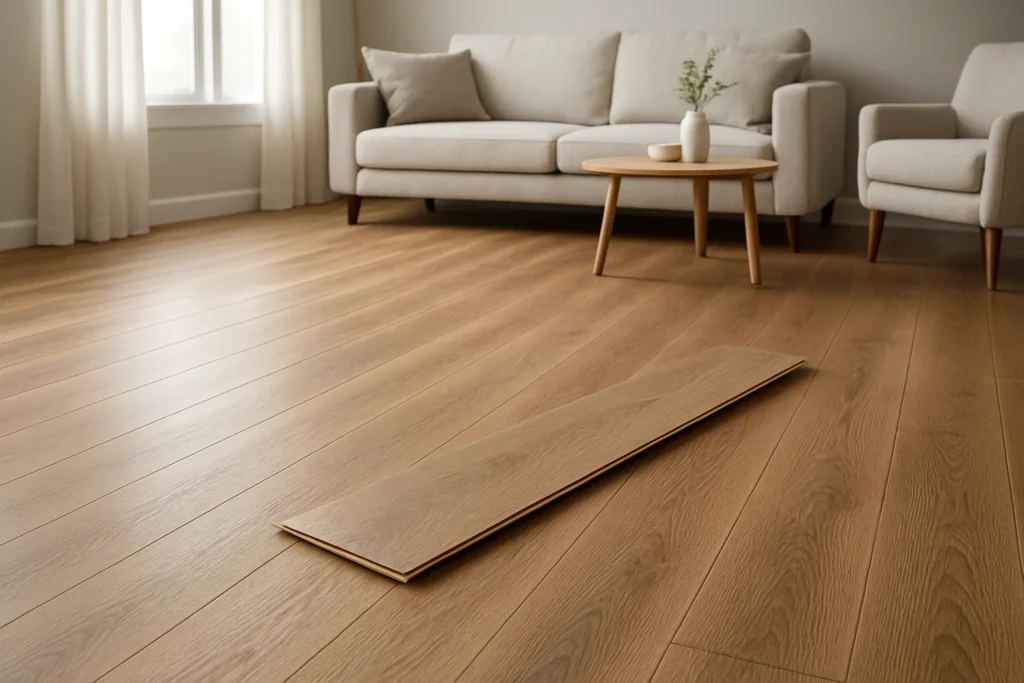


To install vinyl plank flooring, prepare a dry, flat base, plan the rows, and fit the planks using the locking system or adhesive specified for your product. Leave the required gaps around walls and fixed objects, then cover them with trim that does not trap a floating floor. This guide from Online Flooring explains each stage, including the checks that help prevent loose joints, raised edges, and wasted boards.
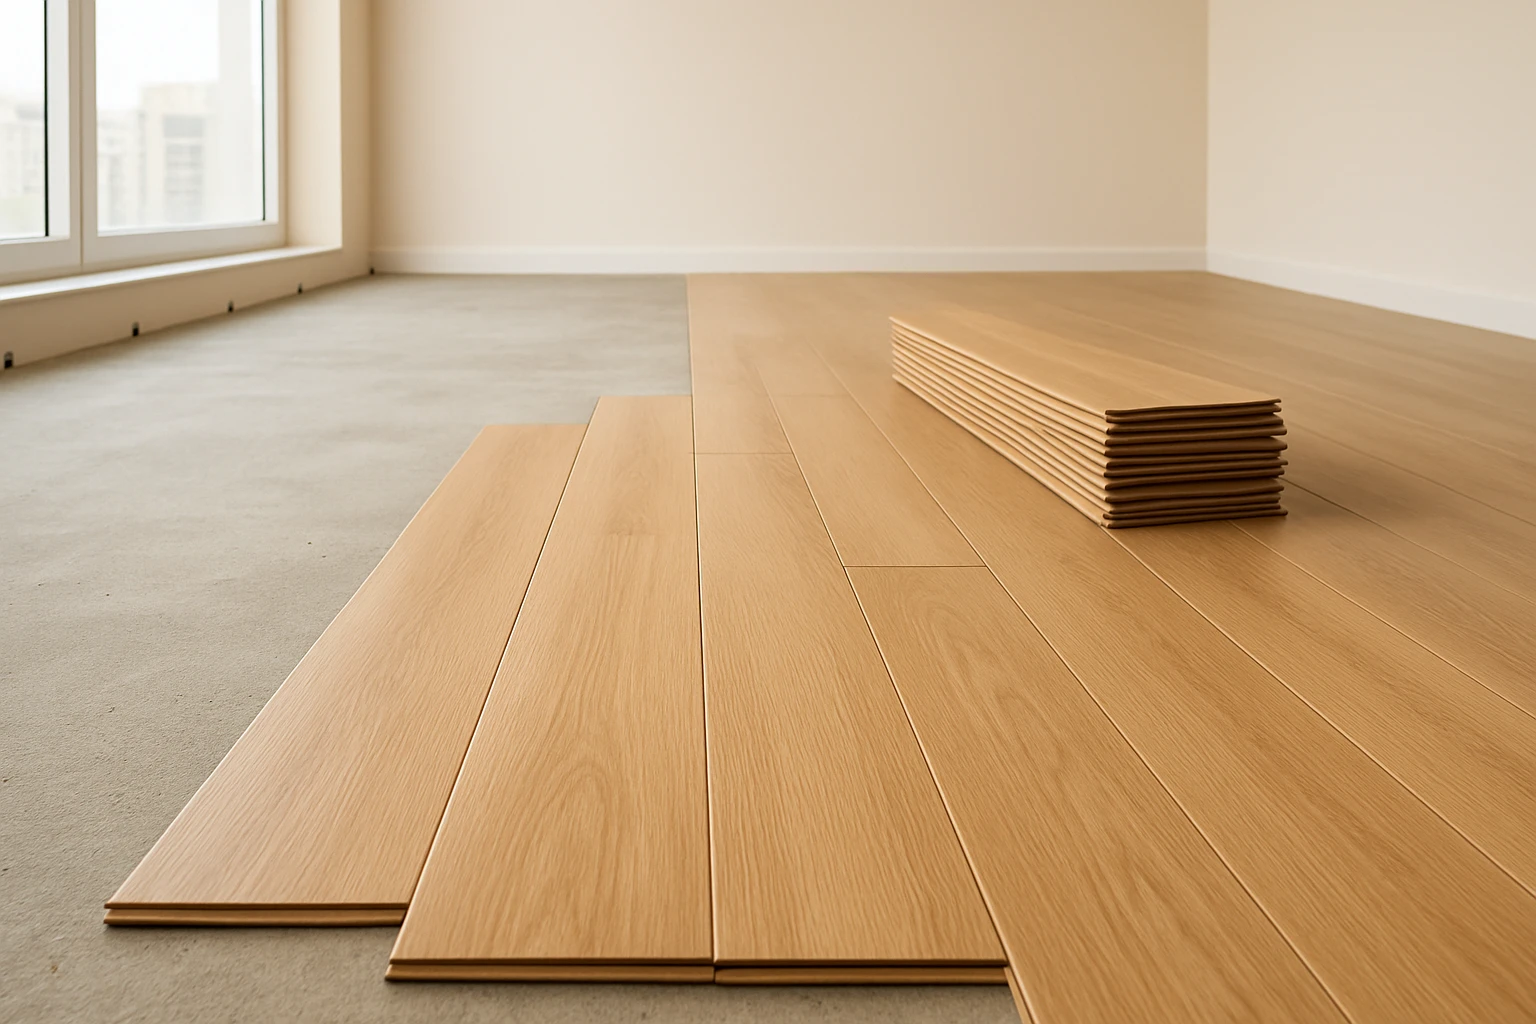
Check Which Vinyl Plank Installation Method You Need
Install vinyl planks with the method stated on the box and in the fitting guide. Click-lock, glue-down, and loose-lay products need different steps, so do not choose a method based only on how a board looks.

A floating floor has boards that connect to each other without being fixed to the base beneath them. Most click-lock vinyl planks use this method, but some products have different requirements.
| Plank Type | How It Is Fitted | Main Preparation Need | Main Risk |
|---|---|---|---|
| Click-lock vinyl | Boards lock together, usually as a floating floor | A firm, flat base and the specified edge gaps | Broken locks or movement where the base dips |
| Glue-down vinyl | Each plank bonds to the base with approved adhesive | A very smooth, dry surface and correct adhesive | Visible surface marks or poor bonding |
| Loose-lay vinyl | Boards use their weight and backing, sometimes with adhesive in specified areas | A smooth base and the maker’s room-size rules | Movement if the required fixing method is ignored |
| Peel-and-stick vinyl | A factory-applied adhesive bonds each plank | A clean, smooth base, sometimes with primer | Weak adhesion over dust, dampness, or unsuitable surfaces |
This guide focuses on straight-lay click-lock flooring and includes a separate glue-down method. Herringbone and chevron products need their own layout and joining instructions.
Check your chosen vinyl flooring specifications before buying underlay or adhesive. If the product names are unclear, the SPC flooring vs LVT flooring comparison explains the difference between rigid stone-plastic composite flooring and other luxury vinyl products.
Also read the product warranty alongside the manufacturer’s fitting guide. Pay close attention to approved rooms, moisture limits, sunlight exposure, maximum floor size, and any required doorway breaks.
Gather Tools and Calculate How Much Flooring to Buy
Measure the floor area, add an allowance for cuts, and gather tools suited to your plank system. Buying by room area alone often leaves too little material for end cuts, damaged boards, or a narrow final row.

For a simple straight-lay room, a buying allowance of roughly 5 to 10 percent is often a useful starting point. Awkward shapes and patterned layouts can need more, so confirm the allowance with the supplier before ordering.
For example, a room measuring 4 metres by 5 metres has an area of 20 square metres. With a 10 percent allowance, you would need 22 square metres. If each pack covers 2.2 square metres, that works out to 10 packs. Always round up to whole packs.
Measure cupboards and recesses that will receive flooring, but do not include areas beneath fixed units if the installation guide excludes them. Keep a few spare planks from the same batch for later repairs.
| Tool or Material | What It Is Used For |
|---|---|
| Tape measure, pencil, and square | Measuring rooms and marking straight cuts |
| Long straightedge and suitable measuring gauge | Finding dips and high spots in the base |
| Vacuum cleaner and scraper | Removing dust and surface residue |
| Approved patching or smoothing compound | Filling low spots and smoothing suitable surfaces |
| Edge spacers | Holding the required expansion gap |
| Utility knife or suitable saw | Cutting planks using the approved method |
| Approved tapping block, mallet, and pull bar | Closing joints without striking the locking edge directly |
| Door-jamb saw or oscillating tool | Trimming suitable door frames |
| Safety glasses, knee pads, and task-specific protection | Reducing injury during fitting and cutting |
| Approved adhesive, trowel, and roller for glue-down flooring | Applying adhesive and pressing boards into full contact |
A free flooring sample can help you check the color under your own lighting before ordering the full quantity. Confirm batch details and the return and refund policy before opening packs, since return conditions may affect how you handle unused material.
Prepare a Flat, Dry, and Stable Subfloor
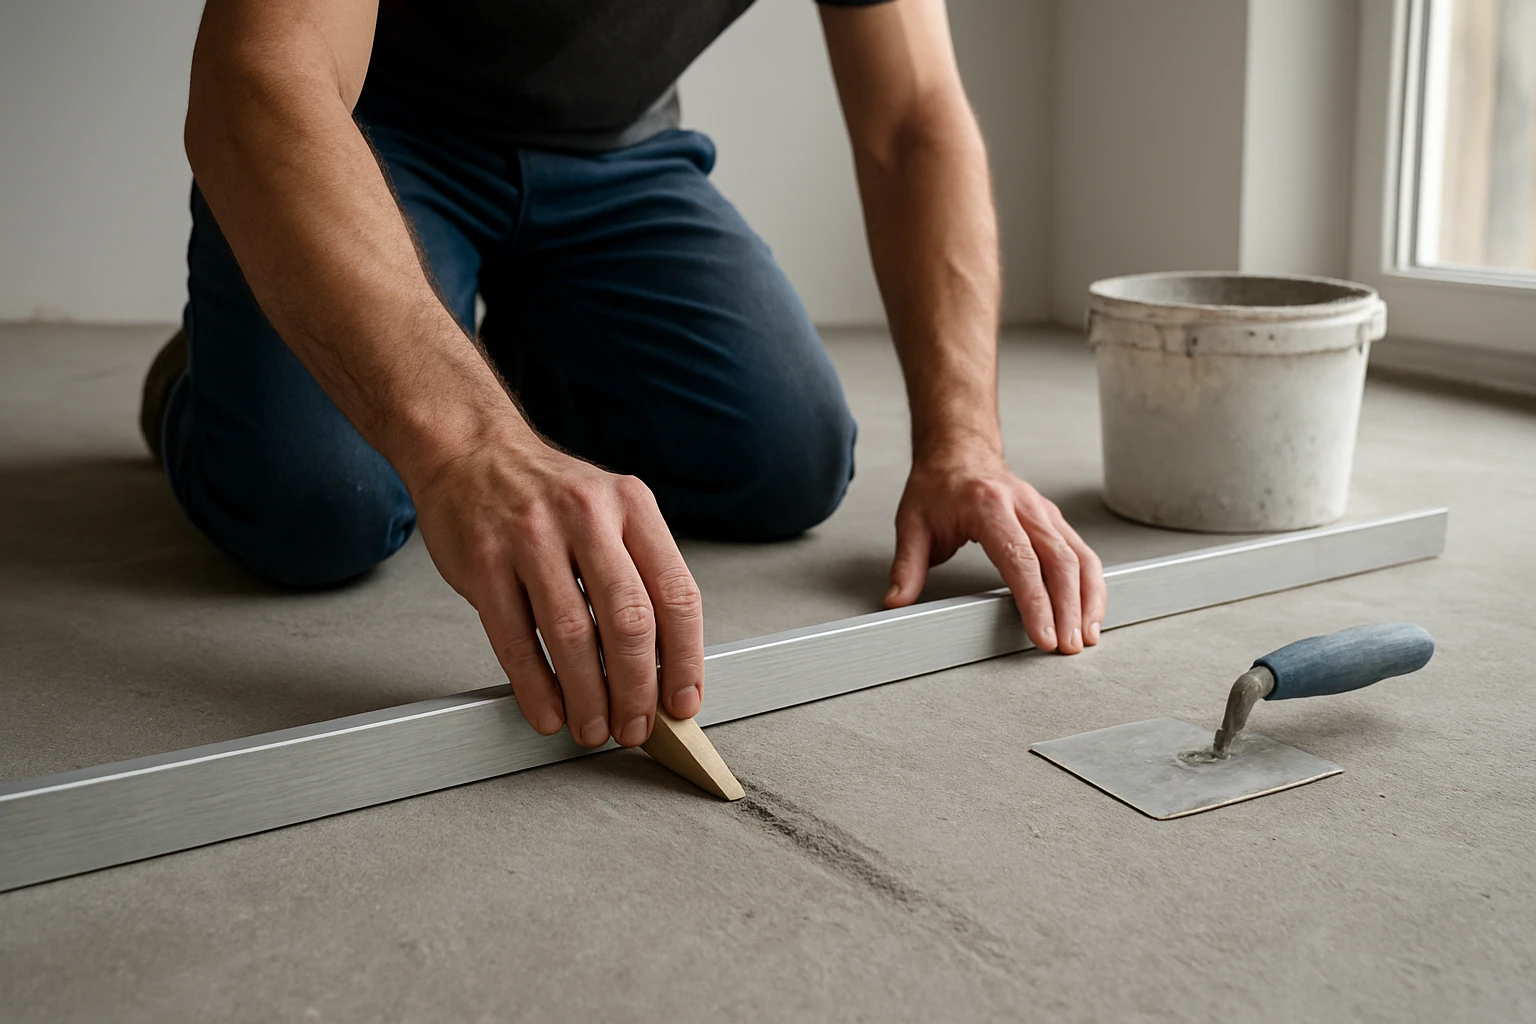
Vinyl plank flooring needs a clean, dry, firm base that meets the product’s flatness limit. Flat does not mean perfectly level: a floor can slope gently and still be suitable, while a level floor with sharp dips can damage plank joints.
Check the Existing Floor Before Covering It
Remove carpet, cushioned flooring, loose tiles, and any other layer that the new floor’s instructions do not allow. Do not install a floating vinyl floor over another floating floor, because movement in both layers can strain the joints.
| Existing Base | Can Vinyl Planks Go Over It? | What to Check First |
|---|---|---|
| Concrete | Often, if approved | Moisture, cracks, flatness, and surface strength |
| Ceramic or porcelain tile | Often, if firmly bonded and approved | Loose tiles, raised edges, grout depth, and finished floor height |
| Timber or plywood | Often, if sound and approved | Movement, squeaks, dampness, and board joints |
| Existing sheet vinyl | Sometimes | It must be firmly bonded, suitable, and not cushioned |
| Carpet or soft underlay | No | Remove it and inspect the base beneath |
If old resilient flooring or adhesive may contain asbestos, stop before cutting, sanding, or grinding it. Arrange an assessment by a qualified local specialist rather than trying to identify the material by sight.
Correct Dips, Movement, and Surface Defects
Move a long straightedge across the room in several directions and compare any gaps with the flooring manufacturer’s limit. For example, a product might allow about 3 mm over 2 metres, but that is not a universal limit.
Fix loose timber boards before covering them, and use a patching or smoothing product approved for the base. Deep grout lines may need filling, especially under thin glue-down vinyl, because the pattern beneath can later show through the surface.
Do not use extra foam underlay to hide dips. Soft layers let the boards bend under foot traffic, which can loosen or break the locking edges.
Test Moisture and Set the Room Conditions
Concrete can look dry while still holding too much moisture for flooring or adhesive. Use the test method and moisture limit required by the product and adhesive makers. A taped plastic sheet or a basic surface meter is not a substitute for the specified test.
Waterproof planks do not make damp concrete safe to cover. Moisture trapped below the floor can still cause odor, mold, or adhesive failure.
In Dubai, run the air conditioning at the setting you normally use when the room is occupied, both before and during fitting. Maintain the required conditions afterward, too. Cooling a room sharply only after installation can expose the floor to a large temperature change.
Follow the stated acclimation period, which means allowing the product to adjust to the room before fitting. Some rigid-core products need little or no acclimation, while others require a set period, so do not assume every pack needs the same treatment.
Use a separate vapor barrier or underlay only where the flooring system calls for it. Planks with an attached pad often must not have another soft layer beneath them.
Plan the Rows Before Cutting the First Plank
Plan the first and last rows together so neither ends up as a weak, narrow strip. Also check how the rows will line up through doorways, because walls are often less straight than they appear.
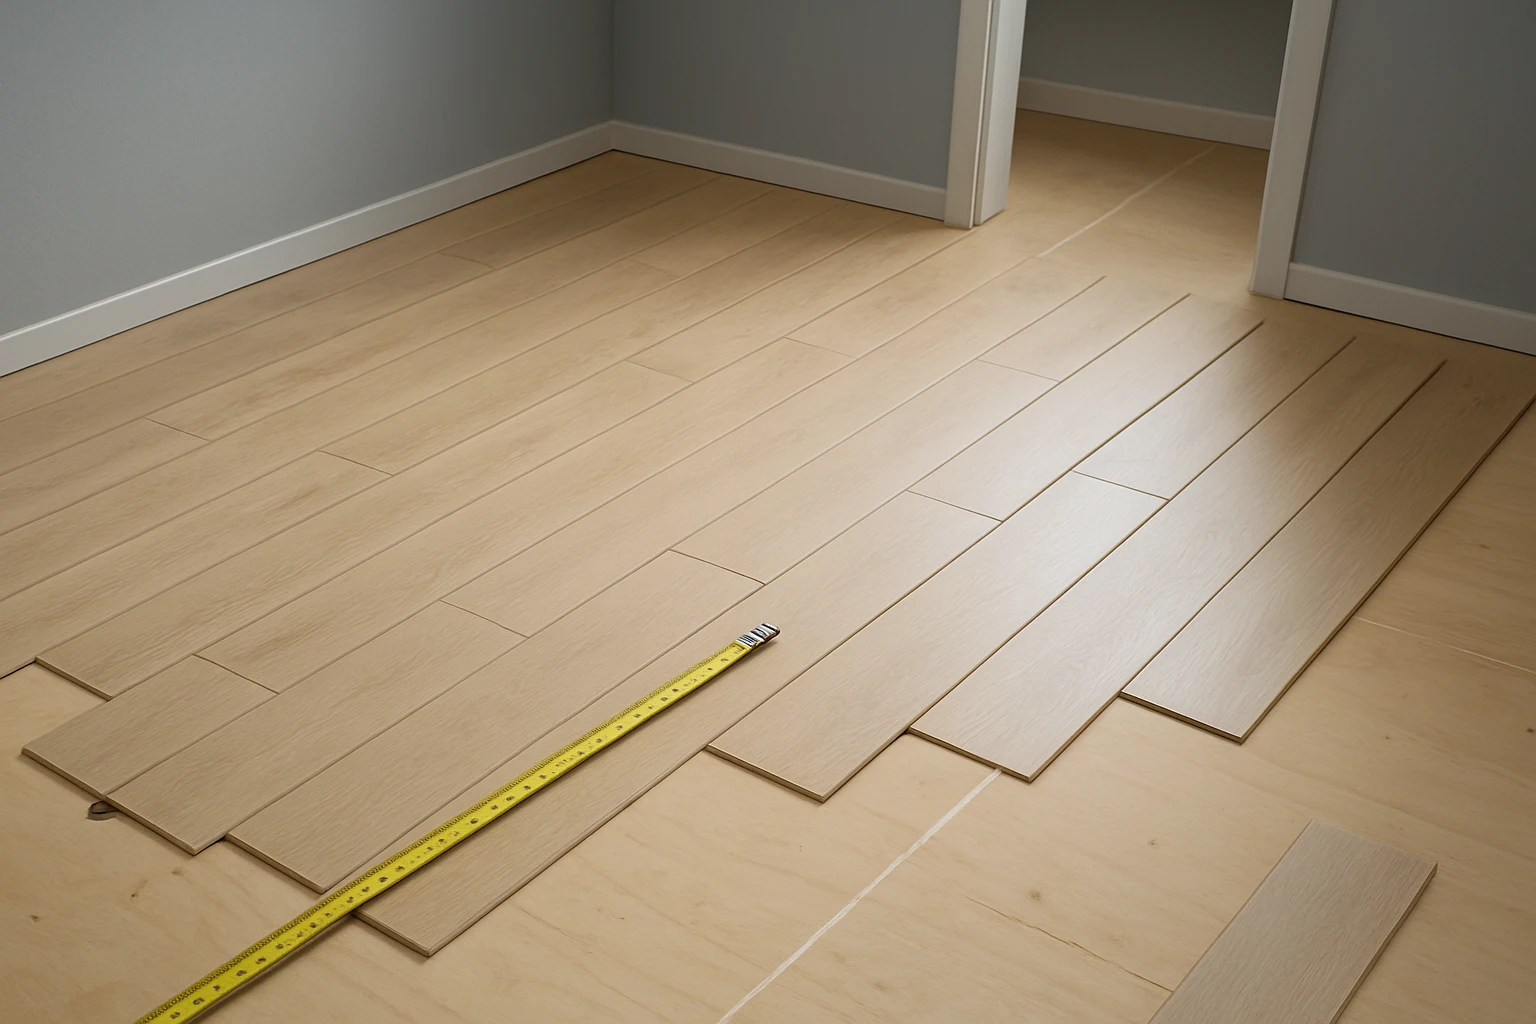
- Measure the room across the planned rows at several points, then allow for the required gap at both sides.
- Divide that usable width by the plank width to find the number of full rows and the width left for the last row.
- If the final strip would be narrower than the product allows, reduce the first row so the two edge rows are more balanced.
- Check how the rows line up through doorways and around fixed objects before choosing a starting edge.
- Lay out enough boards without joining them to check both row width and end-joint spacing.
For example, assume the usable room width is 3,080 mm after edge gaps, and the boards are 180 mm wide. Seventeen full rows would leave a strip only 20 mm wide. Using 16 full middle rows leaves 200 mm for the two edge rows, so first and last rows of about 100 mm create a better layout, provided the product permits that width.
The direction is partly a visual choice. Running boards along the longest clear line of sight often looks good, but check whether that choice creates awkward cuts at a doorway or an exposed entrance.
Mix boards from several packs as you work, while keeping them within the same approved batch where possible. Avoid placing matching printed grain patterns next to each other.
Stagger end joints by at least the distance stated in the fitting guide. Many products call for roughly 200 to 300 mm, but the actual minimum varies. Avoid lining joints up in neighboring rows or making a repeating staircase pattern unless the instructions permit it.
Install Click-Lock Vinyl Planks Row by Row
Fit click-lock planks in the joining order shown for that exact locking system, and keep the first rows straight before adding more. Some boards angle together on both edges, while others use an angle-and-drop joint, so forcing the wrong motion can break the lock.

Set the First Rows Straight
Start from a measured reference line rather than assuming the wall is straight. The first row sets the direction of every row after it, so a small bend at the start can lead to open joints across the room.
- Remove any edge profile that the instructions tell you to trim from the wall-facing side, without damaging the working joints.
- Place spacers along the starting wall and at the row ends. Many floating vinyl products use a gap of around 6 to 10 mm, but use the exact requirement for your floor.
- Join the first row using the specified movement, and check that each end joint is fully closed.
- Cut the final plank to length, allowing for the end gap.
- Use a suitable offcut to start the next row only if it meets the minimum length and joint-spacing rules.
- Fit the next rows and recheck their alignment before the floor becomes too large to adjust easily.
Do not spread adhesive into a floating floor’s joints unless the manufacturer specifically requires it. Glue can prevent the floor from moving as needed and make later repairs harder.
Close Joints Without Damaging the Locks
Check each seam by sight and touch before adding the next board. A raised edge or small gap usually means the joint is not fully locked, debris is trapped inside, or the locking edge is damaged.
Use a tapping block only where the fitting guide permits it, and position it so the force reaches the correct part of the board. Never hit the thin locking lip directly with a hammer or mallet.
If a joint will not close with the approved method, stop and inspect it. Hitting harder can crush the edge while leaving a weak joint that opens later. Replace a board with a damaged lock rather than hiding the fault in the middle of the floor.
Avoid sliding heavy packs across the fitted surface, and keep tools off exposed locking edges. A small chip can stop the next row from fitting properly.
Cut Straight Pieces and Fit Around Door Frames
Use the cutting method approved for the plank. Some vinyl boards can be scored and snapped, while thick rigid products or shaped cuts may need a suitable saw.
For score-and-snap cuts, support the board on a stable surface, use a square, and make controlled passes away from your body. Keep hands out of the blade path, wear the protection needed for the tool and material, and control dust when sawing.
At suitable timber door frames, use a flooring offcut and any required underlay as a guide for how much to trim from the bottom of the frame. Do not alter metal frames, fire-rated door sets, or other protected parts without approval.
Leave the required movement space beneath the frame rather than pushing the plank tightly against it. Check that the door still swings freely and that the new floor height will not trap an appliance in its recess.
Follow a Different Process for Glue-Down Vinyl Planks
Glue-down vinyl needs a smoother base than most rigid click-lock flooring, and you must use the correct adhesive and follow its working times. A straight layout cannot make up for poor adhesive contact or a base that is still damp.

- Prepare and test the base, then apply any primer required by the smoothing compound or adhesive system.
- Mark accurate reference lines so the pattern stays square, especially through open doorways.
- Spread only the amount of adhesive you can cover within its stated working time, using the specified trowel notch.
- Wait until the adhesive is ready for laying planks, as stated in its instructions. Some adhesives need time to become tacky, while others need the flooring placed sooner.
- Place each board accurately and press it into full contact without pushing adhesive up through the joints.
- Roll the floor at the stated times with the specified roller, then remove adhesive residue using the approved method.
- Keep traffic, furniture, and cleaning off the floor for the adhesive’s stated curing period.
Adhesive open time is the period in which flooring can be placed after the adhesive is spread. Heat, humidity, and airflow can change how quickly it dries, so work in manageable areas rather than coating the whole room at once.
Do not copy the edge treatment from a floating floor without checking the glue-down instructions. Follow the product’s full set of instructions for edges, movement joints, and rolling.
A damp slab, extensive smoothing work, or an uncertain adhesive choice is a good reason to use a professional. Consider flooring installation in Dubai for these jobs. This guide to hiring professional flooring installers in Dubai explains what to check before choosing one.
Finish Edges Without Trapping the Floor
Cover a floating floor’s movement gaps with skirting, suitable edge trim, or approved transition profiles, but do not fasten through the planks. The finished floor must still be able to move as its temperature changes.

Remove the spacers before fitting trim, then fix skirting or quarter-round to the wall or existing skirting rather than the floor. Do not press the trim down so hard that it clamps the boards.
Use doorway breaks where the manufacturer requires them, including where the floor would otherwise exceed the maximum length or width allowed without a break. A transition profile may need its own fixing channel, but that channel must not pin the floating planks in place.
Fit fixed kitchen cabinets and islands before the floating floor unless the flooring manufacturer clearly permits another approach. Cutting the floor around fixed units lets it move, while trapping it beneath them can lead to raised joints or buckling.
In a bathroom, follow the product’s approved instructions for sealing edges and openings around pipes or other fixtures. Some systems call for compressible backer rod and a suitable flexible sealant, but a rigid fill or unapproved bead around every edge can restrict movement. Waterproof vinyl is not a substitute for a required wet-area waterproofing system.
Check pipe openings, thresholds, and radiator or cabinet legs for hidden tight spots. Even one screw through a floating plank can hold part of the floor still while the rest moves.
Check the Finished Floor Before Moving Furniture Back
Inspect the floor for open joints, raised edges, and movement before returning heavy furniture. Correcting a fault while you are still laying the floor is much easier than lifting several rows after the room is furnished.
Walk the room in good light and check the floor from a low angle. Watch for joints that rise when you step on them, sections that rock, or boards that touch walls and fixed objects.
| What You Notice | Likely Cause | What to Check or Do |
|---|---|---|
| An end joint opens repeatedly | Incomplete engagement, a damaged lock, or movement below | Inspect the joint and base rather than repeatedly tapping it closed |
| Boards bounce underfoot | A low spot, soft underlay, or an unstable layer below | Check the base and underlay against the product limits |
| Edges lift near a wall or doorway | A tight gap, trapped trim, or a fixed object | Check for pinch points and restore the specified movement space |
| A glue-down board sounds hollow or lifts | Poor adhesive contact, dampness, or incorrect adhesive timing | Have the bond and moisture conditions assessed |
| Surface scratches appear during fitting | Grit, tool contact, or furniture dragging | Vacuum often and use clean floor protection |
A click-lock floor can often take light foot traffic soon after fitting, but follow the product’s instructions before moving furniture onto it. Glue-down flooring needs the adhesive’s specified curing time, which may differ for walking, rolling loads, and cleaning.
Lift furniture rather than dragging it, add suitable protective pads, and use a mat approved for vinyl under rolling chairs. Avoid rubber-backed mats unless the flooring maker confirms they are safe, since some backings can stain vinyl.
Save the product label, batch details, spare boards, and moisture-test records where required. If a joint keeps opening or a section feels soft, deal with the cause before the room goes back into full use. Trim and furniture will not fix a floor that cannot move or lacks support.
Frequently Asked Questions
Can I Install Vinyl Plank Flooring Over Underfloor Heating?
You can install vinyl plank flooring over underfloor heating only when both systems are approved for use together. Check the flooring’s maximum surface temperature, heating type, and temperature-change rules before fitting. Follow the heating system’s commissioning process, and remember that thick rugs or furniture can trap heat in small areas.
Can I Use Click-lock Vinyl Planks on Stairs?
Click-lock vinyl planks can be used on stairs only with an approved stair installation system, and they must not float on the steps. Stair treads and nosings need secure fixing and safe edge details. Check that matching stair parts are available before buying, and use a qualified installer if the required method is unclear.
Can I Replace One Damaged Vinyl Plank Without Replacing the Whole Floor?
A single damaged vinyl plank can often be replaced, but the repair method depends on the flooring system and its position. Some floating floors can be taken apart from the nearest wall, while others need an approved cut-out repair. Keep spare boards because a later batch may differ in color, print, or locking profile.
Is Floating Vinyl Plank Flooring Suitable for a Rental Apartment?
Floating vinyl plank flooring may suit a rental apartment, but get written approval from the landlord and check building rules before fitting it. The work may still involve door trimming, skirting changes, or fixed transition tracks. Also confirm any sound-control requirements and agree on what must be removed or restored when the tenancy ends.
How Can I Reduce the Smell from New Vinyl Flooring?
Choose flooring and any adhesive with documented indoor-emission information, then ventilate the room as the product instructions allow. A strong smell does not reliably measure exposure, so do not judge suitability by odor alone. If a smell persists or causes irritation, contact the supplier and avoid using extra fragranced products to cover it.